Showing posts with label Terrain 101. Show all posts

Wednesday, November 27, 2013

step by step on building a basic tabletop

 I should have gotten this in a few week ago when I built it and it has even shown up in a few battle reports but I thought it might still be of some benefit to see the step by step on how I built this table  

 step one was getting a fresh sheet of 1/4" plywood and marking a nice straight line at 6 feet from the end leaving you with and extra 2 foot section that would be good to make an armies on parade board from


I took it out side at this point to help it dry faster and also not stink out the house with fumes. but to finish this you will need a a lot of glue I started with half a gallon and ran my self totally out by the end of this board also two paint brushes cheep ones will do just fine and a good amount of sand to texture the surface properly   
to get the sand on the the board I would suggest pouring glue in a small patch and brush it out then pour sand on the glue patch but don't take the sand to the edge so that you can make it all bled nicely just keep poring  glue and repeating this until you have the whole surface covered nicely  
 when the glue drys lift the board on edge and bang on the back of it to knock off the loose sand after that I brushed the whole thing down with the second brush to remove any more sand that is even a little loose
 next you will need two cans of your preferred shade of brown I used rust-oleum flat brown make sure you get the edges down the sides or the color of the plywood really stands out 
 now you need something to brighten the high points of the sand I used a can of bone color spray and just dusted the surface. you could also use a much brighter color of brown.
last of all pour on some more glue in patches and use the second brush again to spread it out this time pour on some static grass I would highly recommend using at least three different shades to make it interesting I used two different greens and one light brown. when it has had a chance to dry lift the board on edge again and bang on the back to knock the loose static grass off then just brush the patches again with your hand to get rid of the loose grass

I hope this helps some one it is certainly better then the card table we were playing on until recently with my buddy's.  

Monday, April 23, 2012

Terrain 101

This is my single most handy tool. well besides my hobby knife.....
it works as a thick sturdy ruler and lets me quickly check angles on what ever i am making.
This one is a slightly nicer one i got from home depo but i only got that because i have been into wood working more recently and for what we are doing something like 12-inch-combination-square-set from harbor freight is what i worked with for years.


this is what we will be working on to show you how to make a proper box and to make the angled pieces you will need for so many templates. It is bugbates mini fortress. i cant seem to find a link back to his list on i believe it was dakadaka. oh well i will add it in as soon as i find it 
i will do a full run down on how i built this tower in the next week or 2 so if you are interested keep an eye on this page. 


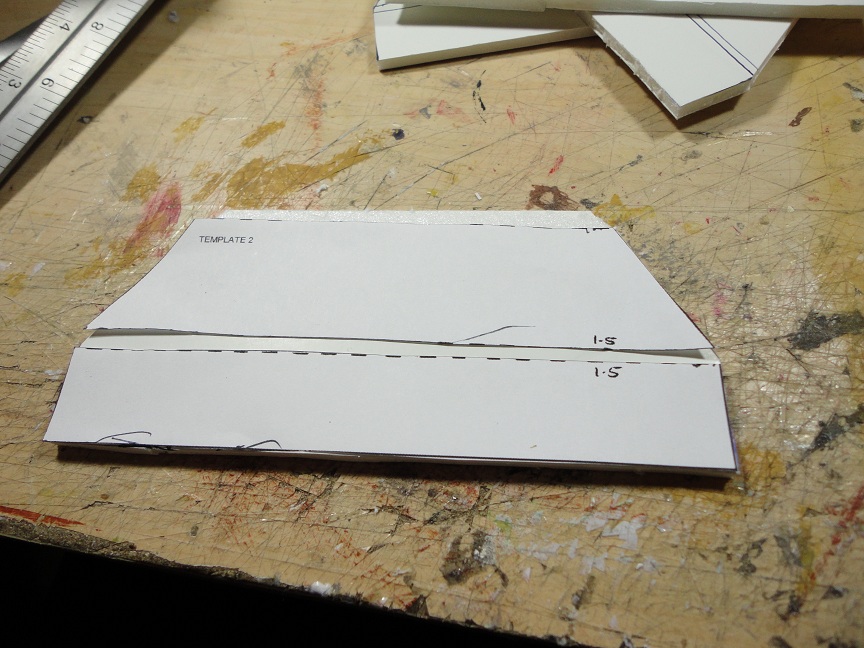
first step get out the scissors and cut out the 2 sections we will need to form the tower core. the 2 sections above are good pieces for showing how to put together buildings they will give us one square box and and nice sloped skirting for it that also forms another box. it is also a good way of seeing how easily crushable foam core gets much stronger the more pieces you add to it.
any way the first this that everyone should look at is HOW to cut a nice straight line. now you could free hand down the lines you traced onto your fome core.
But that ends up being off most of the time on longer cuts so my suggestion is to pull the ruler out of your combination square and cut like this but with the hand i have holding the camera holding the ruler.


as long as you keep your blade sliding along the ruler it comes out great every time. just keep your fingers away from the blade but i don't think i need to tell you people that.
after you do the 4 copy's of this you need and the 4 copy's of the other piece.


You will have to move beyond cutting nice flat square lines but you should also be getting good at it at this stage. so it was all worth it. Now comes the part that most people have troubles with. All the templates I have ever seen assume that all the pieces you are working with are paper thin and that is because they are all most forced to due to the format of being printed on paper. so we have to make them fit together like they are that thin. not as hard as you think i assure you. 


this is how i do it just place the tip of your knife where the piece needs to end and slide your ruler back and make it even the whole way across then you have something to keep your cut straight just like when we were cutting straight down .


after you get that end cut off you will see on this piece that there are a few more cuts to be made. that is because this piece is one joined angle piece so first trace the lines off this template on the start of both of the angled cuts.then it make sure you can do this as easily as possible use your rules like we did to cut the pieces out in the first place but only cut the paper from the first layer. then in a 2ed cut cut only the foam very lightly so you done cut the bottom piece of paper just like we did when cutting the angles that will join together the idea is to remove the parts that will be in the way of making the connections flush in the case of the parts that are separate pieces and to let the 2 half's bend together to form a nice angle on the bottom pieces. 


 This is what they should look like with you have all the pieces cut away.I think this is a good stopping point for today. please come back next week for the next installment of terrain 101 and keep an eye out for the full post on building bugbates mini fortress             


Friday, April 20, 2012

Terrain 101

I can't start to talk about building terrain with out first pointing you to the most helpful page on the net http://40kaddict.blogspot.com/terrain-is-everything-standard-template This man has made scratch building buildings and such so much easier and added a layer of detail that most people starting out would never add 


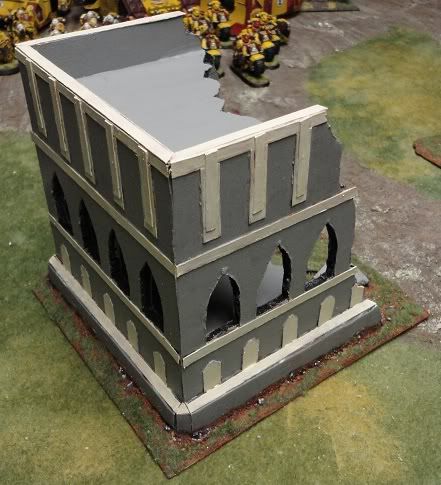
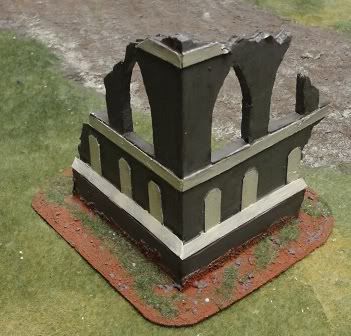
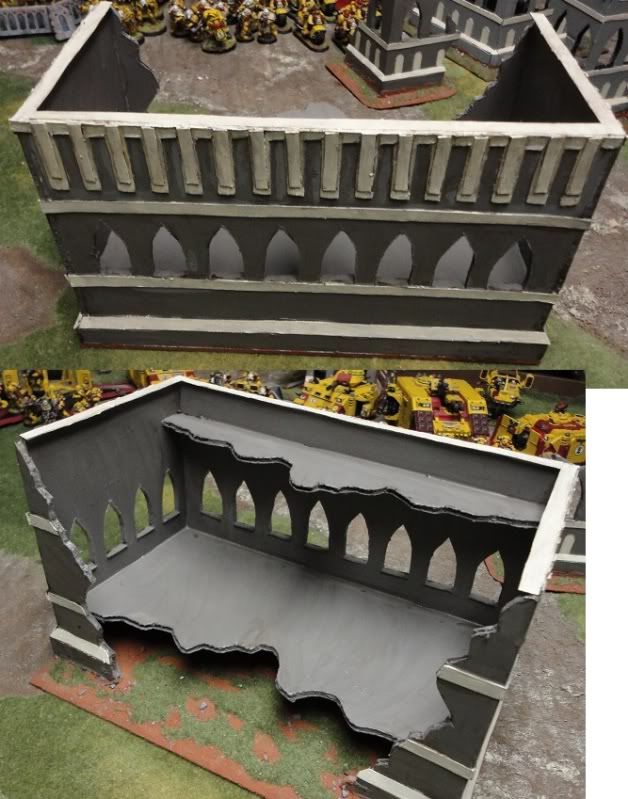
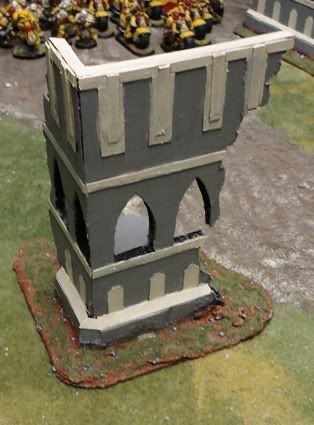
this is one i built from his 2 story ruins template but so are all of these


As you can see he gives you a great out line to start with and from that you can shape the final building to suite your needs. I am sure you all took the link at the top to Dwez blog and took a bit of time to look around and saw all the great buildings he has done. The thing you will see is that his interpretations of the plans he made are a little different then what I have done with them and I am sure anything you would make would look different still. I Honestly Feel that is what the GW buildings lack some times. Sure they look nice and all but they all end up looking a little to much alike. There is nothing like a nice set of home built terrain.
So from hear out I am going to look to break down any building tips I can muster into quick and easy steps to get you started building your own battlefield. Next Monday look forward to an introduction to fomecore and some simple ways to make it work for you!