Friday, March 15, 2013

Building a gameing table part: V


Well sadly this is as far as I could get in the time I had. There is not even flock on it but I was needed to help paint the house this was being gifted to. If i had one more day with it before I felt it needed to be delivered I could have put a 2ed coat of polyurethane to get a smother finish and added the grass to the gameing surface  at least but fate did not have that in store for this project. It is still passable and at some point either thewarhost or I will get  a chance to add the grass and I will get a pic or two to show you all the truly finished product. But for now This my friends is the end of the story. 

Wednesday, March 13, 2013

Building a gameing table part: IV


As you can see I glued the sand to the tabletop for texture I am hoping that it turns out well I watered down the glue a bit more then i would normally So i am hoping for the best on that one.
I also stained the board edges and the leg units with red oak stain. it gives the wood a worn old look  That should be nice. you can still see some spots that look like water marks but that is just because I have not gone back with a clean dry cloth and wiped them till they turn out even with the rest. Stain is nice to work with like that

Friday, March 8, 2013

Building a gameing table part: III


Today It looks like all most nothing got done but I did get all the holes filled in With dowels and glued. So next on the list is  rounding off the corners of all the boards so they look less like 2/4's then on to sanding the whole thing. after that I plan on staining and sealing the whole thing with polyurethane.

Wednesday, March 6, 2013

Monday, March 4, 2013

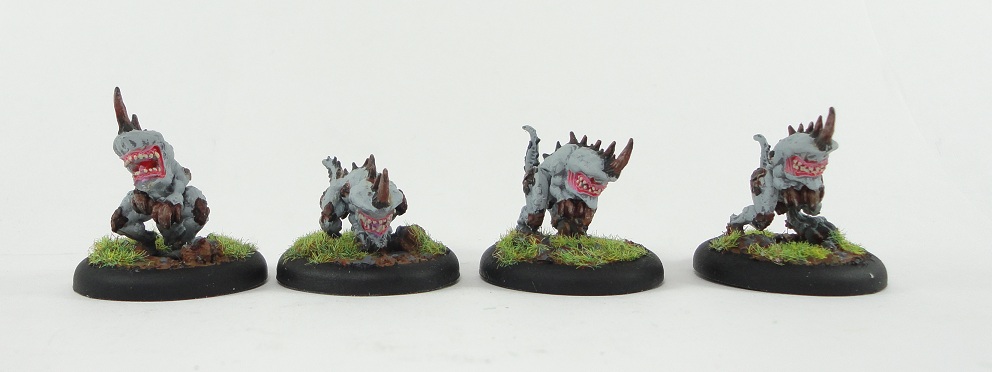
Shredder's Part: I Finished


I did all 4 shredder's today there not amazing but they look good on the table