Tuesday, November 18, 2014

2 more killa kans and a deff dread


So in my normal fashion I had a bit of free time and hit the painting hard for a brief time. This was the result. they are a bit darker then the first one but with ork's that seems all the more appropriate.

Friday, November 14, 2014

Ork Warbikers filling out the squad

I am sorry about the pictures I took them several times and just cant seem to get them as bright as normal.


the new group fits in well with the old one as you can see the nob/warboss (depends on how I want to run him) has his bike painted with paint that is both lucky and makes him go faster!

Monday, November 10, 2014

Organization is everything (paint edtion)

So I am sure we all have had issues with paint jars taking over our work space this is my solution. My original answer to the problem was this standing rack with a lot of holes to slide the pots into. It works great for all my vallejo paint, but sadly I did not have a large enough bit to fit the GW paints.
So now I have a huge rack to fill in as I get more   


 As you can see its easy to build you just need a thick board for the base with a 1/8" slot cut into it then drill a ton of holes in a sheet of 1/8" MDF that are spaced out a bit and the proper size for your paint pots. the only this you have to do after that is add on pieces to the sides of the MDF that have a slot cut into them or they wont be stiff enough to hold your paint with out flexing and breaking.
you could also add on a top and make it more ridged but I did not have room as it sits under the shelf at the back of desk.   
 After I got the vallejo paint taken care of I had to come up with something for all the GW paint I have as my desk was still mostly covered. The answer I came up with after not fitting them on my standing rack was a set of drawers. These are not as easy to enplane exactly how I built them so I will just point you all to https://www.youtube.com/user/stevinmarin This gentleman has some excellent beginner wood working projects and can quickly get you up to speed to build some simple drawers like these. you could also Google "pocket hole jig" and that will tell you how it is possible to hide the screws like I have on this.    


now my desk looks much cleaner and much more orginised.
still a bit of a mess with the tools and chemicals but much better then it was.

Wednesday, November 5, 2014

Scrach built Ork warbuggie


So after building the trukk I had some extra wheels and seeing as how GW has decided to stick to the ancient warbuggie kit and not update it again. I chose to finally get around to building something I can live with. I started by gluing a piece of plastic card that was a size I felt was appropriate on to the wheels I had laying around.
hears something to compare the size to
I find that I need to mix in actual GW bits to add details to this kind of build. My plastic card skills / the time I am currently willing to put into something like this are not up to the task with out them. but seeing all the extra bits in kits any more there is plenty in the old bits box to add in the interest that is needed. 
   

Wednesday, October 29, 2014

Skull crusher of khorne


This is my current experiment with the air brush all of the red was air brushed on and the OSL on the eyes was obviously done with the airbrush as well. There is still a lot I need to learn as far as changing shades to get a gradient I am looking for but experience is the only way I see to learning that one.  

Sunday, October 5, 2014

Start to finish custom ork trukk

 This is the model I started with. The original plan was to make a buggy out of it but as I progressed the scale was just to far off from what I felt was reasonable. But as I was contemplating how to shrink it and using my actual ork trukk to determine what size it should be I realized it just about fit as a trukk so that's what it is and I am still building the buggy out of some of the spare tiers and scrap I had after I was done with this. 
 I started with striping some of the junk off and cutting off the cab to bring down the size
 Then I cut the bed of the trukk and knocked about of the half off of it.
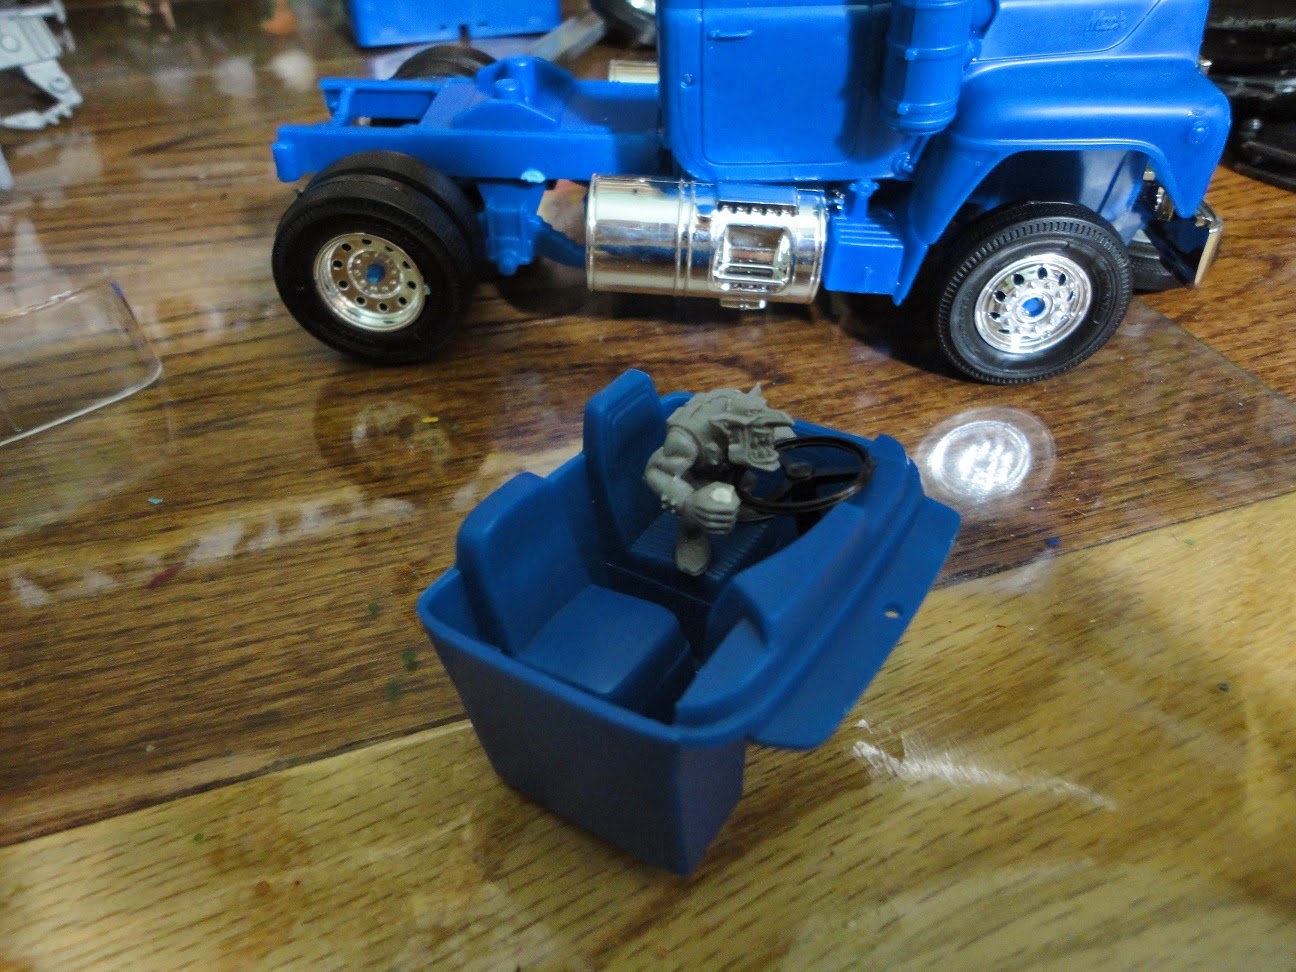
adding a driver at least a first test fit
 adding some spacers to put a flat bed on
 the start of the bed
 chopping the top and adding the sides
this was supposed to be the start of the rokket launcher base but a lot of this ends up getting chopped back off

_________________________________________________________________________________
This is where a little time skip happens sorry but I failed to take pictures from hear till I finished painting but hear you go the final painted trukk.
_________________________________________________________________________________


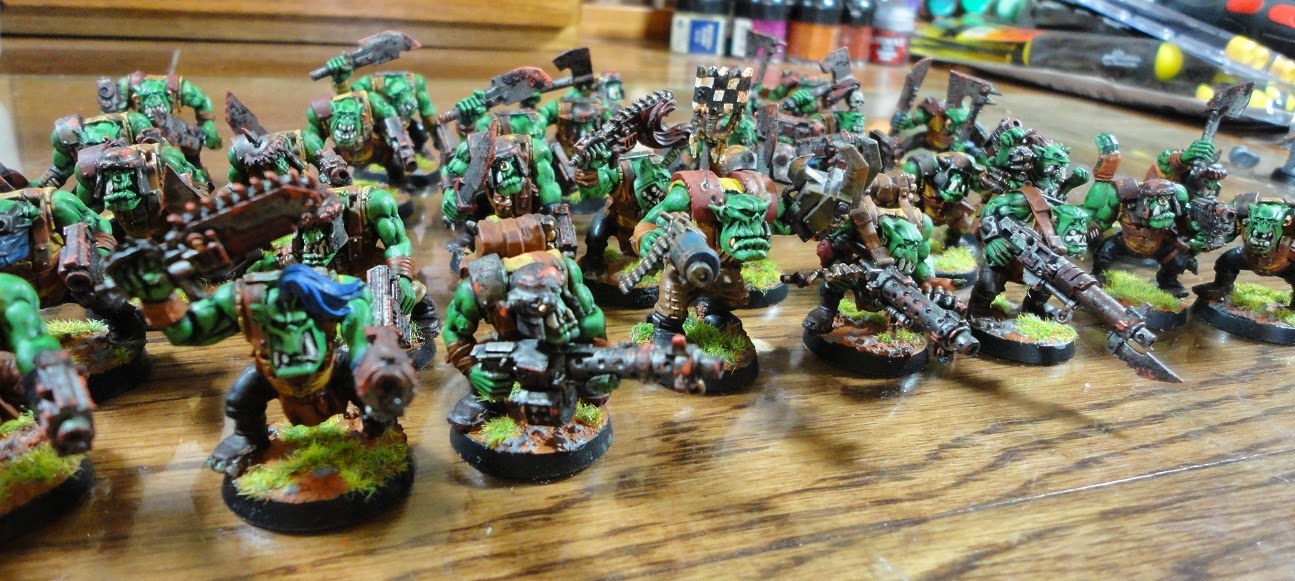
and this is the final product after a lot of added scrap and and other orkifacation

Monday, September 22, 2014

3ed squad of ork boys all done!


     This mob of boys was a big project I wanted to finish before I went back to school and it was looking bad for them for a wile but after I started hitting the washes and sponge weathering they really went fast and started coming together.
     The nob and the three boys with big shootas I am rather happy with. Tho that may be largly due to them being nicer models then the assault on black reach guys and I believe the nob is actualy from the legit nob's box.
     Any way I hope you like them next up should be my custom trukk and I think people will really enjoy that one.